The last high performance DAC I built is almost old enough to vote. so I thought I should try building a new one given the new direction my audio addiction is taking. My old Tube DAC still sounds fantastic to this day; in fact I’m still using the same prototype board that I etched in an apartment while in graduate school. However being tube based, not only is it a bit of a power hog, but I don’t like to leave it on for long periods of time if I’m not using it.
My current audio system goals are to have small unobtrusive little speakers and electronics driven by streaming audio from my laptop or my server. These systems should be powered up most all the time, and be as high performance as I can make. I am finding that as I get older, I rarely just sit and listen to music, so a dedicated listening room largely sits empty. Maybe I need to turn in my audiophile card, and get a Bose mini system; except I still appreciate and demand good sounding, low distortion , high fidelity music.
My current solution is to build high performance two-way speakers with high quality drivers, and drive them with digital switching amps which are very efficient and use very little power when idle. The source for each of these little systems is an Apple Airport Express. These little units let me stream my music as well as acting like little wireless routers and network extenders. The sound quality from them is actually reasonably good, but it could be better. They are welded shut during assembly, so there is no getting inside for some circuit improving, but in addition to analog output, they also output TOSLink optical digital signals as well. This means that I can add a simple DAC between the Airport Express and one of my amps and improve my sound quality dramatically.
I had been toying with building a new DAC with Cirrus Logic chips (formerly Crystal Semiconductor) because the Crystal folks had consistently been making better and better sounding chips the last time I have checked into using them, and the Burr Brown offerings really dried up after Texas Instruments bought them. I had played with asynchronous sample rate converters back in the AD1890 days, and they were a mixed bag sonically. But I had read a great article at DIYAudio on how they work and why they can be very useful for digital audio. Given that I am using a marginal TOSLink source, I thought that doing a bit of clean-up after the fact with one made some sense. So I had picked out my chips: CS8416 receiver, a CS8421 sample rate converter, and a CS4398 DAC. After laboring over what to do with the needed analog stage, I got reading this enormous thread on a very inexpensive DAC on eBay. If I had any brains, I would have just bought that DAC and called it good; well I did, but because I like to build things, I also made my own while I’ve been waiting for the DAC to arrive from China.
One of the major themes in that thread is using transformers as an analog stage for the DAC. In general I find transformers to be nasty signal butchering devices, but maybe I’m getting more senile in my old age, but they appeal to me in that application. The transformer is an ideal balanced to single ended converter, and the analog stage needs some filtering of ultrasonics, and the transformer does that as well. For my application, I was also looking for something that would sound as good as my tube stage without the heat, power, and lifetime issues. So I decided based on the glowing reports in the thread to give it a try. But for good sound, just any old transformer won’t do. I like the concept of circuit board mount transformers, and Lundahl has a great reputation for line level transformer sweetness.
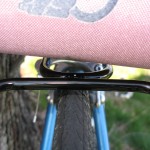
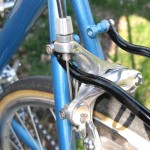
Shown below is my first prototype. It uses a pair of the LL1690 amorphous core line level transformers being fed by a CS4398 DAC, which is being fed by a CS8421 sample rate converter. The converter gets it’s data from a CS8416 receiver with both coaxial and TOSLink inputs. An Airport Express pushes bits through the TOSlink to the DAC. The DAC uses a PCB mount toroidial power transformer which feeds seven discrete power supplies for the three chips.
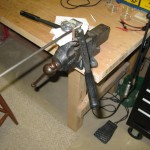
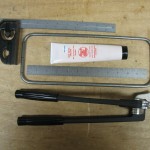
I laid out the board expecting to send it off to a professional board house if it was worthy, but I don’t have deep enough pockets to just buy pro-made boards for every hair-brained circuit I generate. I etch those myself. So I reduced my 4 layer board to a double sided board with poured ground plane regions. I’ve never etched a board this fine (TSSOP and 0604 parts), but somehow I did it. Then it was a matter of soldering and squinting.
The schematic for the design is here: DAC Schematic
The board layout is here: DAC Board Layout
The parts list is here: DAC Parts List
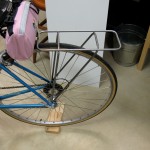
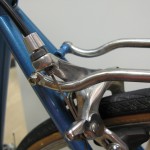
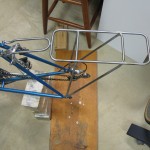
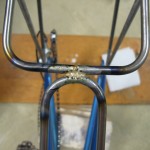
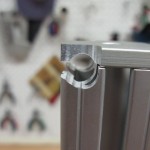
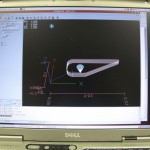
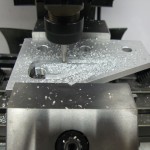
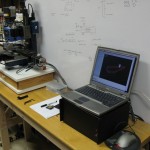
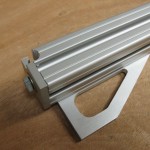
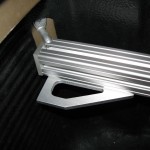
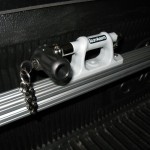
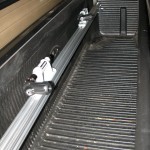
And now it’s time for some pictures: